
How to wear
Detailed Steps
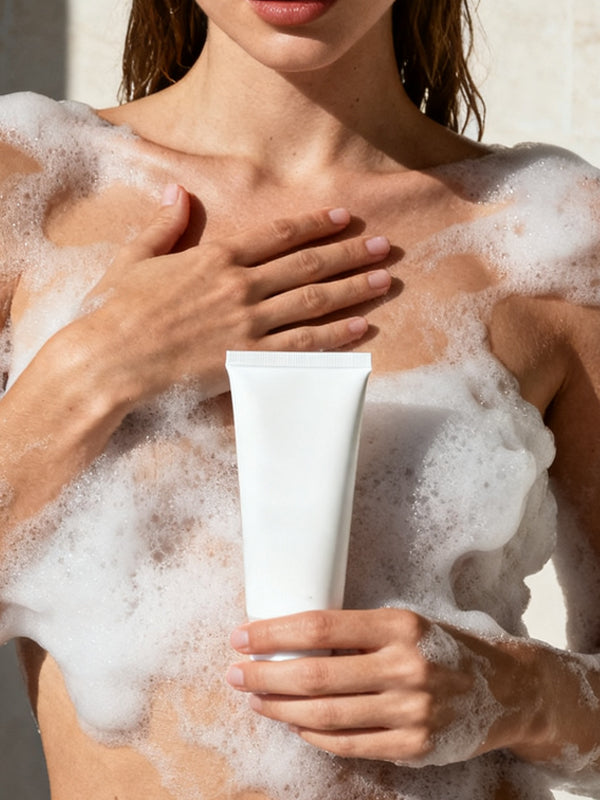
STEP1: Clean Your Skin
Body oils, lotions, sunscreen, or perfume residue can weaken adhesion and cause slipping or curling edges.
How to do itGently cleanse the upper chest and collarbone area with a mild cleanser or body wash. Wash your hands. Make sure both your skin and hands are completely dry before applying. Avoid perfume or oily lotion on the day of wear.
Niidor TipsIf you expect to sweat or move a lot (e.g., parties or dancing), bring an extra pair or nipple covers for backup.
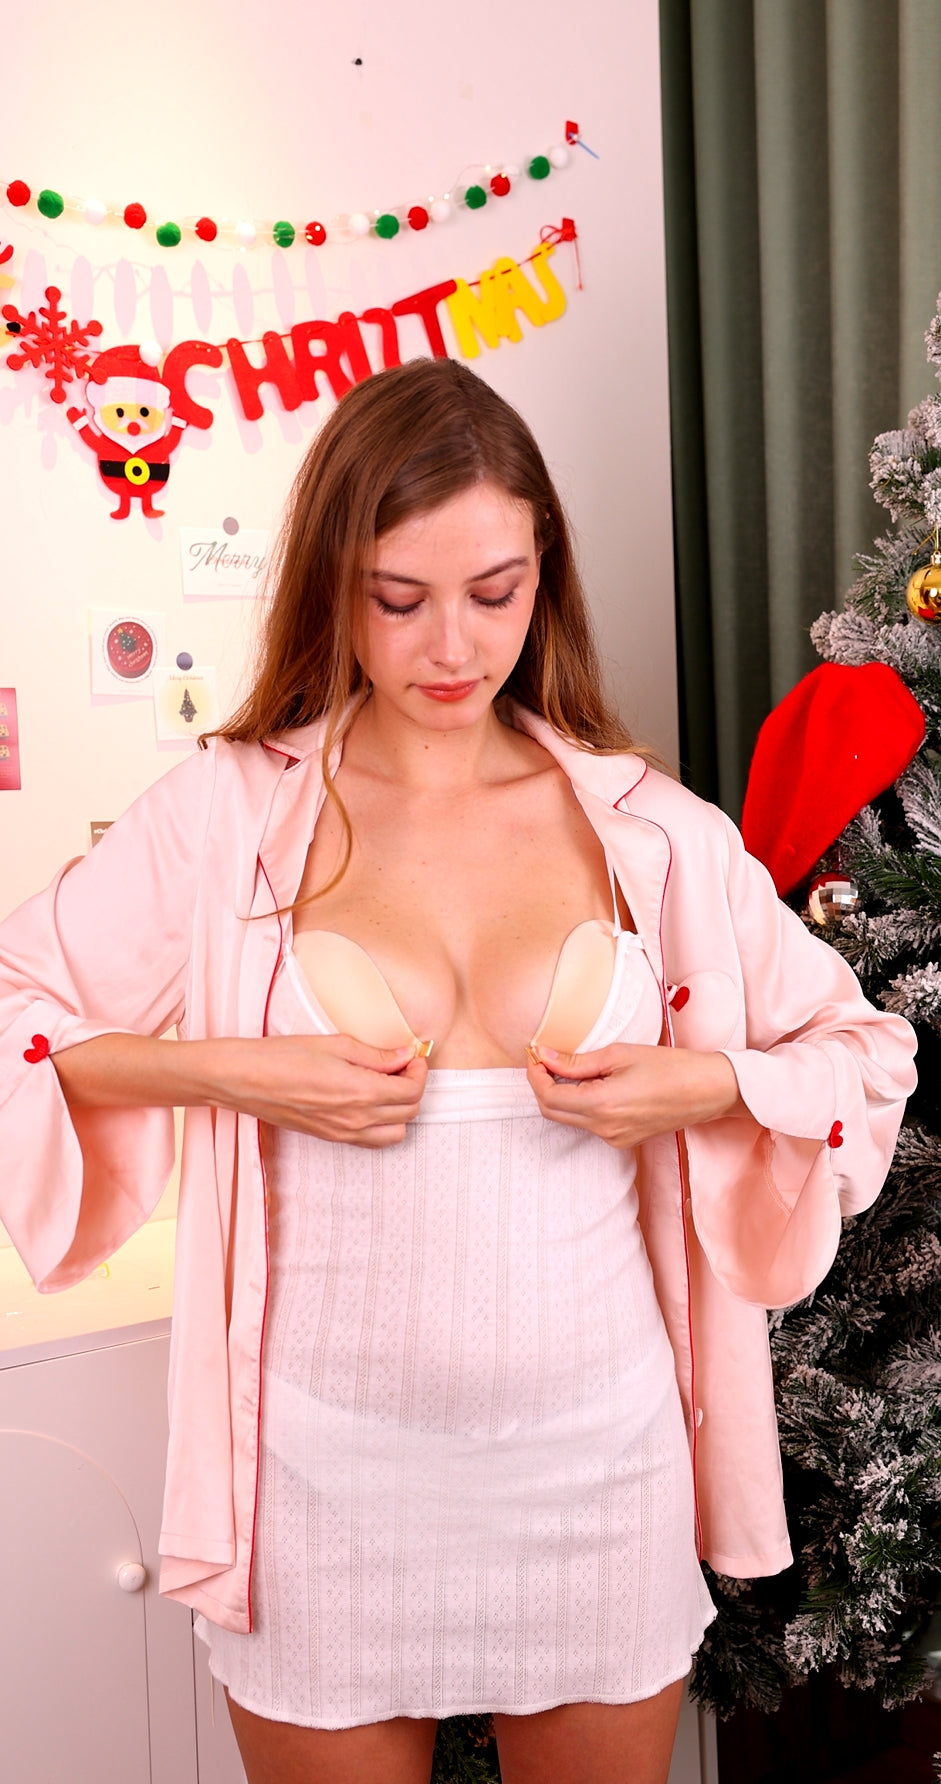
STEP2: Position the Cups
Before removing the protective film, hold the cups up to your chest to determine the ideal placement.
How to do itStand in front of a mirror. Position each cup so the bottom edge sits slightly below your natural breast crease. The cups should face forward and slightly upward for lift. Mark or remember where the inner edges meet.
Niidor TipsThe distance between the cups affects cleavage. Closer placement creates more cleavage, while wider placement looks more natural.
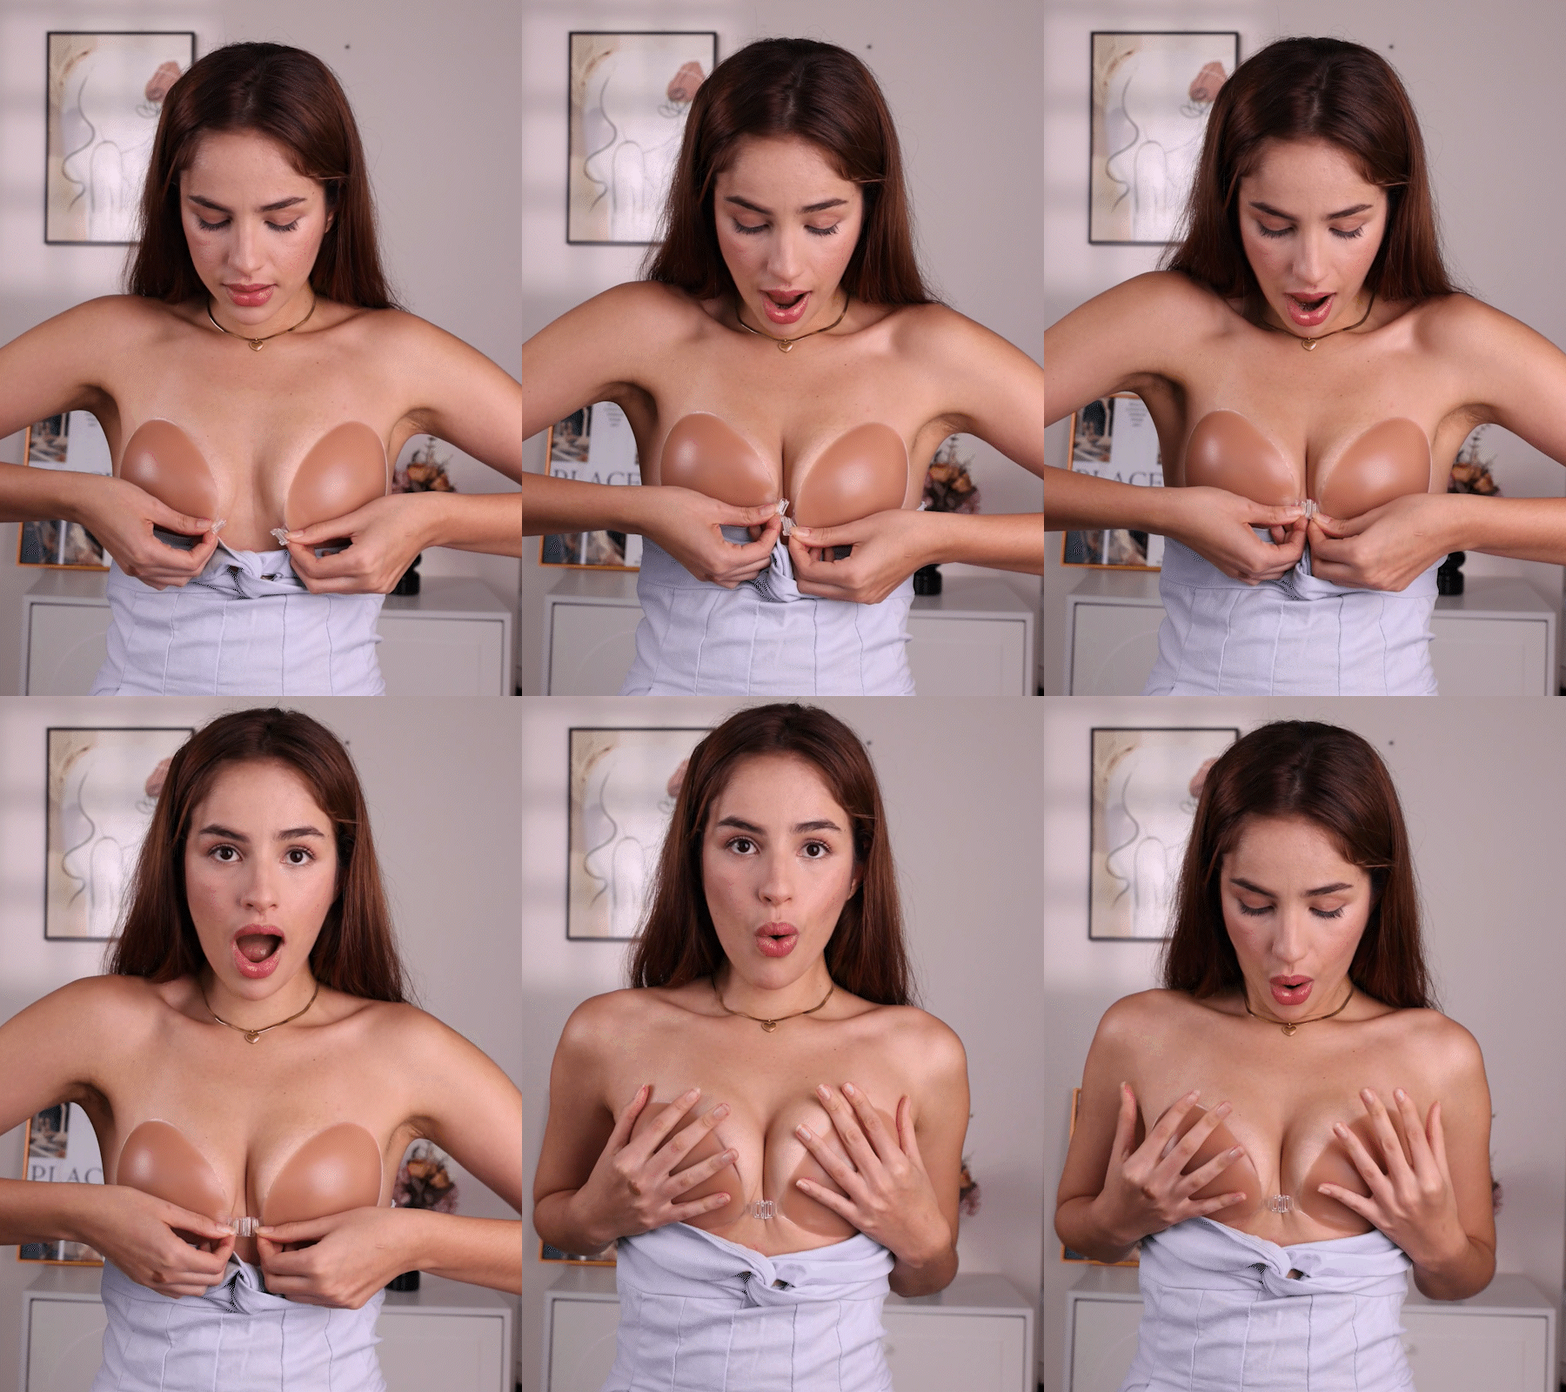
STEP3: Apply and Press
Remove the protective film from one cup and apply it to your breast, following your planned positioning.
How to do itLean forward slightly to help your breasts fall into the cups naturally. Press the cup firmly from the bottom up and from the center outward. Hold for 5-10 seconds to ensure adhesion. Repeat with the second cup, checking for symmetry.
Niidor TipsFor extra lift, position the bottom edge of each cup slightly lower than you think necessary.
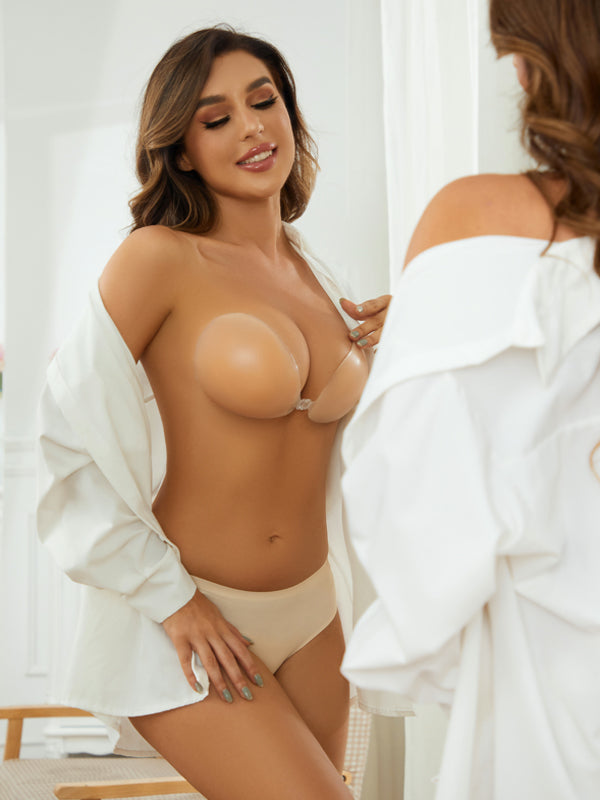
STEP4: Adjust and Secure
Once both cups are in place, make any final adjustments for comfort and appearance.
How to do itCheck in the mirror that both cups are level and symmetrical. Gently lift and reshape your breasts if needed. Press around the edges of each cup to ensure full contact. Wait a few minutes before putting on your outfit.
Niidor TipsAvoid repositioning too many times, as this can reduce adhesive strength. Plan your placement carefully the first time.